

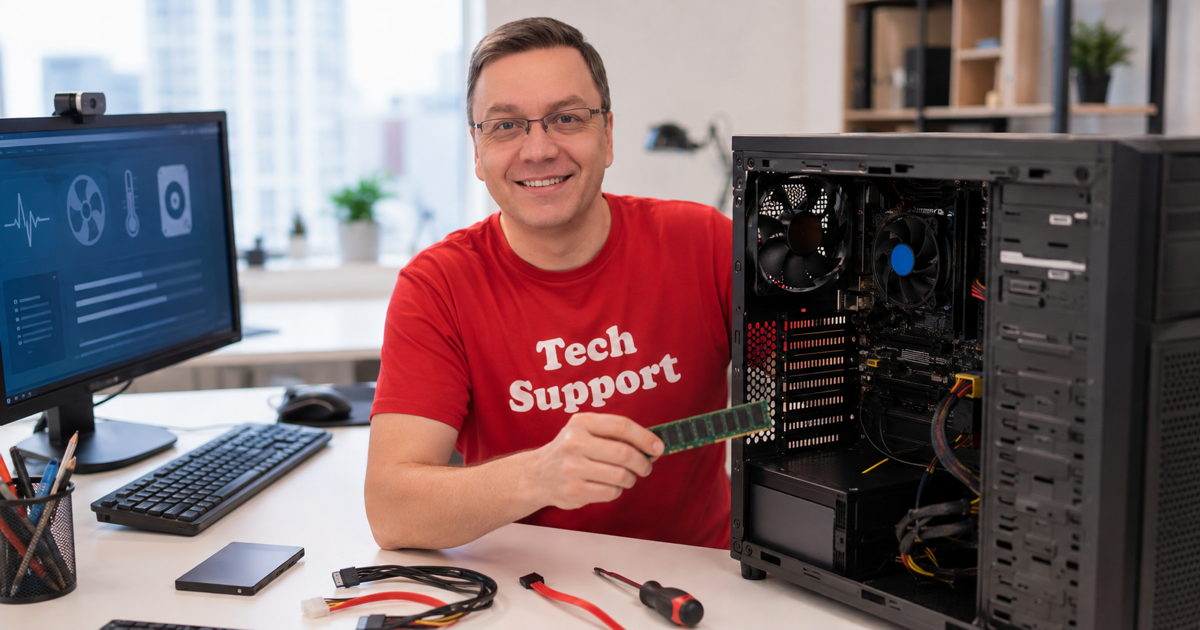
You want more memory, but you need to know which RAM your computer supports before ordering modules. This applies to desktops and laptops with accessible memory slots; many thin laptops have soldered memory that cannot be upgraded.
Does This Affect You?
RAM installation is simple when the parts are correct, but incompatible memory will not fit or will fail to boot. The module generation, speed, capacity, voltage profile, and slot layout all need to match what the motherboard or laptop supports.
Check What RAM Your System Supports
Do this before buying. It prevents the most common upgrade mistake.
- Press Windows+R, type msinfo32, and press Enter. Note the motherboard model or exact laptop model shown in System Information.
- Search the manufacturer support page for that exact model and open the memory specifications. Look for DDR4 or DDR5, maximum capacity, supported speeds, and number of slots.
- Open Task Manager with Ctrl+Shift+Esc, go to Performance > Memory, and check installed capacity, speed, and slots used.
- For laptops, confirm the page says memory is user-upgradeable. Generic compatibility tools can be wrong when RAM is soldered.
- Buy RAM that matches the supported type and sensible speed. Mixed speeds can work, but everything usually runs at the slowest module speed.
You will be opening the device. Shut it down, unplug it, remove a removable battery if present, touch bare metal to discharge static, and hold memory modules by the edges. Avoid touching gold contacts or chips. These steps are at your own risk; use warranty support if appropriate.
Install the RAM
Once you have compatible memory, the physical process takes only a few minutes.
- On a desktop, open the case and find the RAM slots near the CPU. On a laptop, remove the bottom panel or memory cover according to the model instructions.
- If replacing existing RAM, push the clips outward until the module releases, then lift it out.
- Line up the notch in the new module with the notch in the slot. RAM fits only one way.
- Press firmly and evenly until the side clips snap into place. A partly seated module is the most common reason a system fails to boot after a RAM upgrade.
- Reassemble the computer, power it on, and check Task Manager > Performance > Memory to confirm the new total.
If the new RAM is not detected, shut down and reseat the modules. Test one stick at a time and one slot at a time to identify a bad module or slot. Mixing capacities such as 8GB plus 16GB usually works, though matched pairs are preferable for dual-channel performance.
New memory may run below its advertised speed until XMP on Intel systems or EXPO on AMD systems is enabled in BIOS/UEFI. The RAM can still work normally at the default speed, but enabling the profile lets it run at the rated setting if the motherboard and CPU support it.
Sources
- Crucial – How to upgrade your computer memory (2025)
- Intel Support – Memory compatibility and installation (2025)
- Microsoft Support – Check how much RAM your PC has (2025)